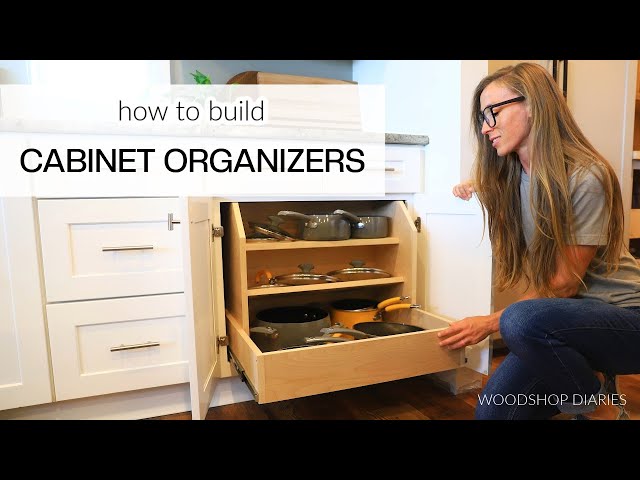
Imagine opening your kitchen cabinets and finding everything neatly organized, right at your fingertips. No more frustrating searches for lids or spices.
You can have this blissful experience every day with the right kitchen cabinet organizers. But buying them can be expensive. Here’s the good news: you can make them yourself! You’ll discover simple, cost-effective ways to create your own kitchen cabinet organizers.
You’ll learn how to transform cluttered spaces into efficient storage areas that make cooking and cleaning a breeze. Whether you’re a DIY enthusiast or just looking to save some money, these tips will help you achieve a perfectly organized kitchen. You’ll be amazed at how easy it is to reclaim your space and make your kitchen work for you. Are you ready to unlock the secret to a more organized kitchen? Keep reading to discover how you can make your own cabinet organizers and enjoy the benefits of a tidy space every day.
Benefits Of Diy Kitchen Cabinet Organizers
Creating your own kitchen cabinet organizers offers numerous advantages. By crafting them yourself, you can tailor the design to your specific needs and preferences. This personal touch often leads to increased satisfaction and functionality. Additionally, DIY projects can be cost-effective, saving money compared to store-bought options. Let’s explore the benefits of making your own kitchen cabinet organizers.
Custom Fit For Your Space
DIY organizers let you customize every detail. You can design them to fit perfectly into your cabinet spaces. This ensures no wasted space and maximizes storage efficiency.
Cost-effective Solutions
Making your own organizers can be much cheaper. You can use affordable materials and repurpose items you already have. This reduces costs significantly compared to buying new ones.
Creative Freedom
DIY projects allow unlimited creativity. You can choose colors, materials, and styles that match your kitchen decor. This freedom ensures your organizers blend seamlessly with your kitchen’s design.
Improved Organization
Handmade organizers can enhance your kitchen’s order. You can create designated spots for each item, reducing clutter. This keeps everything in its place and easily accessible.
Sense Of Accomplishment
Completing a DIY project brings a great sense of pride. Knowing you built something useful with your own hands is rewarding. This feeling adds value to the everyday use of your kitchen.
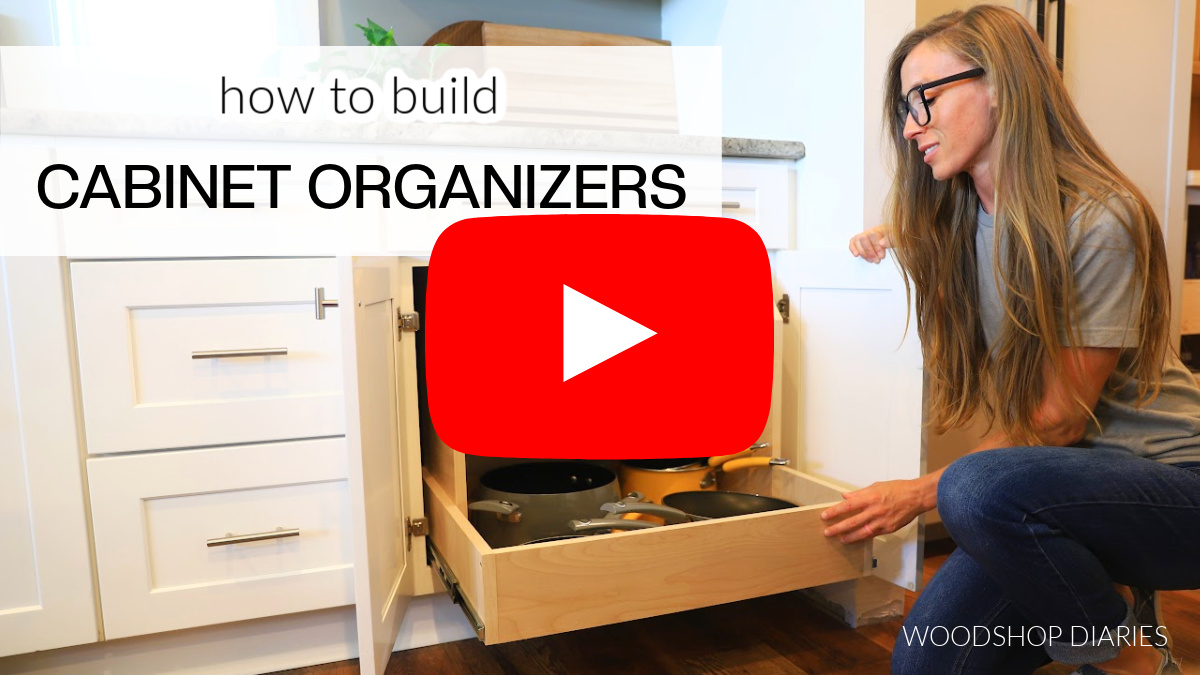
Credit: www.woodshopdiaries.com
Essential Tools And Materials
Essential tools for making kitchen cabinet organizers include a measuring tape, saw, and screwdriver. Materials like plywood, screws, and brackets are also needed. Having these on hand ensures a smooth and efficient project.
Creating kitchen cabinet organizers can transform your cooking space from chaotic to streamlined. To start this DIY project, gathering the right tools and materials is crucial. With the essentials at hand, you’ll find yourself building effective and personalized storage solutions with ease. Let’s dive into the necessary gear that will make your organizer dream a reality.Essential Tools
- Measuring Tape:Precision is key. Accurate measurements ensure your organizers fit perfectly within your cabinets.
- Drill:A reliable drill helps you secure components firmly. It’s invaluable for attaching brackets and supports.
- Saw:Whether it’s a hand saw or a power saw, cutting boards to size is often required. Ensure you have a sharp blade for clean cuts.
- Screwdriver:Essential for tightening screws and making adjustments. A set with various head types can be especially useful.
- Level:To keep your organizers balanced, a level prevents slanted shelves and uneven surfaces.
Key Materials
- Wood or Plywood:Choose durable wood for a sturdy foundation. Plywood is versatile and easy to work with.
- Screws and Brackets:These keep everything in place. Opt for high-quality metal to avoid rust and ensure longevity.
- Sandpaper:Smooth out rough edges for a polished finish. Sandpaper helps in achieving a sleek look.
- Paint or Finish:Add a touch of color or a protective coat. This enhances aesthetics and shields against wear.
- Drawer Slides:If you’re aiming for pull-out organizers, slides ensure smooth operation and accessibility.
Measuring Your Space
Measuring your space accurately is the first crucial step in creating efficient kitchen cabinet organizers. Imagine the frustration of crafting the perfect organizer only to find it doesn’t fit! Precision here saves time and prevents costly mistakes. You’ll be amazed at how a little foresight can transform a cluttered cabinet into a symphony of order.
Choosing The Right Dimensions
Start by examining the width and height of your cabinet interiors. Are they uniform or do they vary? This can determine the type of organizer you will need. Consider what you’ll store—pots, pans, or spices—and assess how much room they’ll require.
Think about the ease of access. A well-organized space is not just about fitting items but also retrieving them effortlessly. Have you ever struggled to find that elusive spice jar buried at the back of the shelf? Choosing dimensions wisely can eliminate such annoyances.
Considering Cabinet Depth
Depth is often overlooked but is essential in maximizing space. Deep cabinets can hide items, so think about sliding or pull-out features. These can make a world of difference in accessibility.
Consider the depth in relation to your reach. If the cabinets are too deep, you might need extra tools like pull-out trays or lazy Susans to ensure nothing is left forgotten. How often do you use your baking supplies or special utensils? Their frequency of use should dictate their position in the depth hierarchy.
Design Ideas For Organizers
Designing your kitchen cabinet organizers can be both fun and functional. A well-organized kitchen not only saves you time but also makes cooking more enjoyable. Let’s explore some creative design ideas to transform your cabinets into efficient storage solutions.
Pull-out Shelves
Pull-out shelves are a game changer for deep cabinets. They allow you to easily access items stored at the back without any hassle. Imagine never having to bend down and rummage through the layers of pots and pans again.
Install full-extension slides to maximize space and gain a clear view of everything. Consider adding pull-out shelves for under-sink cabinets to efficiently store cleaning supplies. Don’t forget to measure your cabinet dimensions carefully to ensure a perfect fit.
Spice Rack Solutions
Keeping spices organized can save you from a lot of kitchen chaos. A well-planned spice rack keeps all your seasonings within reach and visible. This not only speeds up your cooking process but also inspires creativity in your dishes.
Consider using tiered racks inside your cabinet doors to utilize vertical space. Magnetic strips can also be attached to the inside of cabinet doors for a sleek, modern look. Label each jar clearly for quick access, and you’ll never have to dig through a sea of spices again.
Drawer Dividers
Drawer dividers are essential for maintaining order in utensil drawers. They help categorize items, making it easier for you to find what you need when you need it. Say goodbye to the dreaded jumble of spoons, forks, and whisks.
Opt for adjustable dividers to accommodate different utensil sizes and shapes. Bamboo or acrylic dividers offer a durable and stylish touch. Try dedicating specific sections for frequently used items, ensuring they’re always at your fingertips.
So, which organizer idea will you try first? Your kitchen awaits its transformation into a model of efficiency and style.
Step-by-step Construction Guide
Creating your own kitchen cabinet organizers can be a rewarding project. It enhances your kitchen’s functionality and brings a sense of personal achievement. Let’s dive into a step-by-step guide to constructing these handy organizers.
Cutting And Preparing Materials
Start by gathering all necessary materials. You’ll need plywood or MDF, a saw, sandpaper, screws, and brackets. Measure your cabinet space carefully. Mark the dimensions on your plywood. Use a saw to cut the pieces according to your measurements.
After cutting, smooth the edges with sandpaper. This step prevents splinters and ensures a neat finish. Double-check each piece to confirm they fit your intended design.
Assembling The Organizer
Lay out your pieces on a flat surface. Begin by assembling the sides and back. Use screws and brackets for sturdy joints. Ensure all angles are square and aligned. Attach the bottom panel next. This forms the base of your organizer.
Install dividers if your design includes them. Secure each divider with screws for stability. Once assembled, check all connections. Tighten any loose screws and ensure the structure is firm.
With your organizer assembled, it’s ready for a final sanding. A smooth finish is key before applying any paint or stain. Now, your kitchen cabinet organizer is ready to enhance your storage space.

Credit: www.instagram.com
Finishing Touches
Add elegance to your kitchen by creating functional cabinet organizers. Use baskets and dividers to maximize space. Label shelves for easy access and keep frequently used items within reach.
The final step in creating kitchen cabinet organizers is adding finishing touches. This step brings your project to life. It ensures durability and aesthetic appeal. Two critical parts of finishing touches are painting and sealing and installing hardware.Painting And Sealing
Paint your organizers for a fresh look. Choose colors that complement your kitchen. Light colors can make small kitchens appear larger. Use a brush or roller for smooth application. Let the paint dry thoroughly before sealing. Sealing protects the paint and adds shine. Use a clear sealant for a natural look. Apply two coats for durability. Let each coat dry completely.Installing Hardware
Hardware adds functionality and style to your organizers. Choose knobs or handles that match your kitchen decor. Measure the spaces for precise placement. Use a template for consistency. Drill holes carefully to avoid damage. Attach the hardware securely with screws. Make sure they are aligned and level. Check for smooth opening and closing. Adjust if necessary for perfect fit.Maintenance Tips
Crafting kitchen cabinet organizers can enhance space and efficiency. Use adjustable shelves and dividers for flexibility. Regularly declutter and clean to maintain order.
Keeping your kitchen cabinet organizers in top shape requires consistent maintenance. With a few simple strategies, you can ensure they remain functional and aesthetically pleasing. Below are some actionable tips to help you maintain your kitchen cabinet organizers effortlessly.Regular Cleaning
Regularly clean your organizers to prevent dust and grime buildup. Use a damp cloth and mild soap to wipe them down. Avoid harsh chemicals that might damage the material.Inspect For Wear And Tear
Check your organizers for signs of wear and tear. Tighten loose screws and replace any damaged parts immediately. This prevents small issues from becoming bigger problems.Keep Them Dry
Moisture can warp and damage your organizers. After cleaning, ensure they are thoroughly dry before placing items back inside. Use a fan or open windows to speed up the drying process if necessary.Oil Moving Parts
If your organizers have moving parts like sliding shelves or rotating racks, oil them regularly. This keeps them operating smoothly and quietly. Use a light machine oil for the best results.Organize Regularly
Take time to reorganize your cabinet contents every few months. This helps you eliminate items you no longer need and keeps your space efficient. Ask yourself: are there items you haven’t used in the past year?Avoid Overloading
Ensure you don’t overload your organizers. Overloading can cause them to break or warp over time. Distribute weight evenly and remove unnecessary items to maintain balance. By following these maintenance tips, you can prolong the life of your kitchen cabinet organizers and keep your kitchen running smoothly. Have you checked your organizers lately?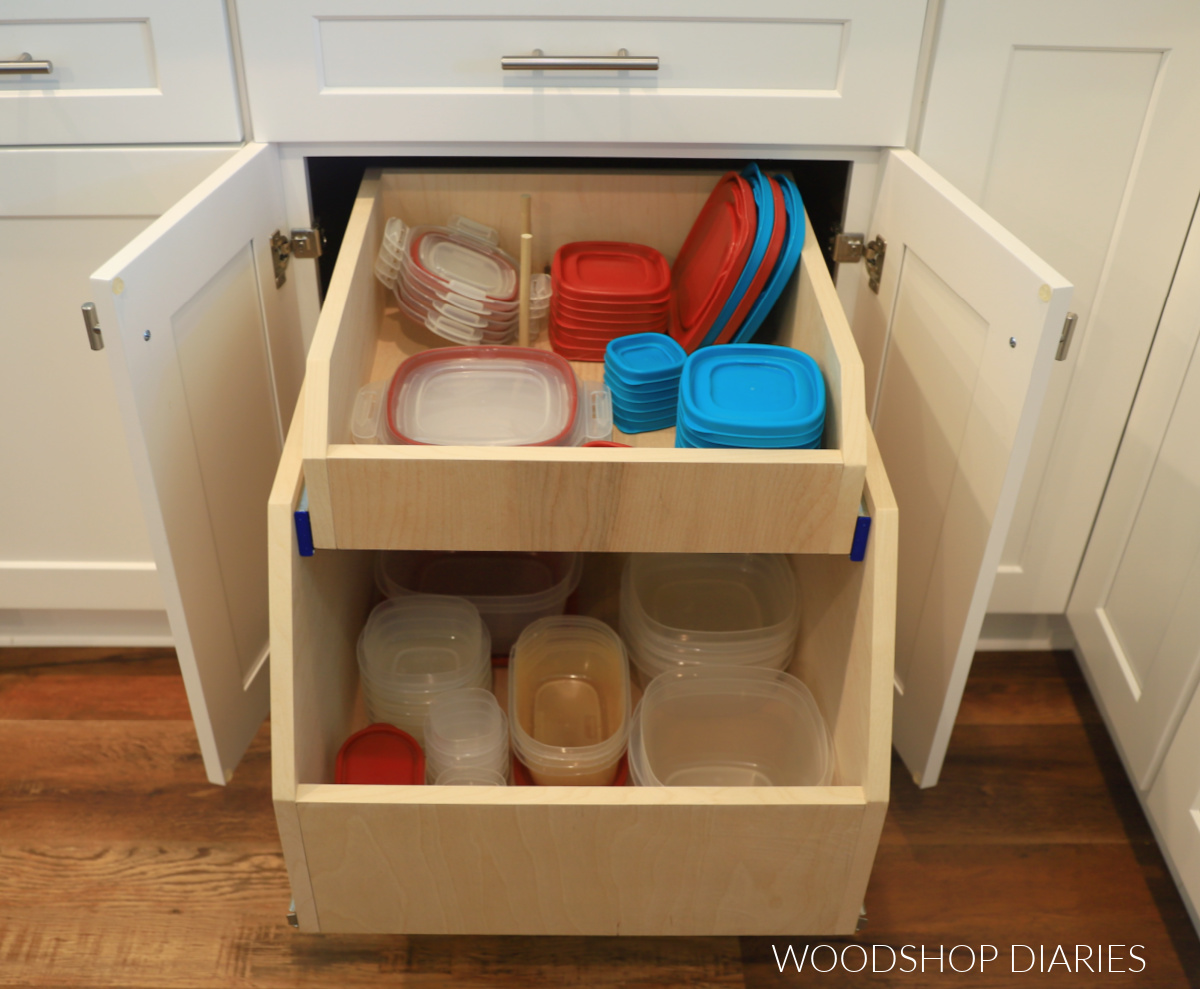
Credit: www.woodshopdiaries.com
Frequently Asked Questions
How Can I Maximize Cabinet Space?
Maximize cabinet space by using dividers, shelves, and pull-out drawers. Consider vertical stacking and use clear bins for visibility. Custom-fit organizers can help utilize every inch effectively, enhancing accessibility and reducing clutter.
What Materials Are Best For Organizers?
Durable materials like wood, metal, and high-quality plastic are ideal. They offer strength and longevity. Choose materials that complement your kitchen’s style and are easy to clean. Sustainable options like bamboo are also popular.
How Do I Customize Organizers?
Measure your cabinet dimensions carefully. Use adjustable dividers and modular units. DIY solutions with pegboards or custom-cut shelves allow flexibility. Tailor organizers to fit your specific items for optimal functionality.
Are Diy Organizers Cost-effective?
DIY organizers can be cost-effective. They allow customization without the expense of store-bought options. Use recycled materials for an eco-friendly approach. Careful planning ensures you meet your needs while staying within budget.
Conclusion
Creating your own kitchen cabinet organizers is simple and rewarding. You can use everyday materials like baskets or dividers. These help keep your space tidy and efficient. Remember to measure your cabinets first. This ensures everything fits perfectly. A well-organized kitchen saves time and reduces stress.
You’ll find cooking more enjoyable and less chaotic. Try different ideas to suit your needs. Personalize your organizers for the best results. With these tips, your kitchen will be clutter-free. Enjoy a neat and pleasant cooking space every day. Happy organizing!