
Are you tired of rummaging through cluttered kitchen drawers, searching for that elusive spatula or measuring spoon? A well-organized kitchen can make your cooking adventures smoother and more enjoyable.
Imagine opening a drawer and finding everything neatly arranged, right at your fingertips. You don’t need to spend a fortune to achieve this level of organization. In fact, you can create a custom drawer organizer that fits your kitchen perfectly—and all without breaking the bank.
Curious to learn how? Keep reading to discover simple, cost-effective strategies that will transform your kitchen drawers from chaos to order. Your dream of a tidy and efficient kitchen is just a step away!
Materials Needed
Wooden slats, glue, a measuring tape, and a saw are essential for creating a cost-effective kitchen drawer organizer. Gather these materials to cut and assemble the perfect fit for your kitchen needs.
Creating a drawer organizer for your kitchen doesn’t have to break the bank. With just a few affordable materials and basic tools, you can transform your kitchen chaos into a neat and functional space. Whether you’re a DIY enthusiast or a beginner, knowing what materials you need is crucial for the success of your project.Affordable Options
You might be surprised at the cost-effective materials available right at your local store or even around your home. – Cardboard: This is a great option for a temporary solution. It’s sturdy enough to hold utensils and can be cut to fit any drawer size. – Foam Board: It’s slightly more expensive than cardboard but offers better durability and a cleaner look. – Wood Offcuts: If you have access to a saw, you can cut these to fit perfectly in your drawer for a long-lasting solution. – Plastic Bins: These can often be found at dollar stores and are perfect for a modular setup. – Old Shoe Boxes: A fantastic way to repurpose items you already have at home. Just trim to fit! Have you ever considered using leftover materials from past projects? It’s a fantastic way to save money and be environmentally friendly.Tools Required
Even if you’re not a DIY expert, the tools required for this project are minimal and user-friendly. – Scissors: Essential for cutting cardboard, foam board, or old shoe boxes to the right size. – Utility Knife: Handy for precise cuts, especially when working with tougher materials like foam board. – Ruler or Measuring Tape: Accurate measurements ensure a perfect fit for each section of your drawer. – Glue Gun or Tape: Necessary for securing your organizer sections together, providing stability. – Saw: If you’re opting for wood offcuts, a small hand saw will do the trick. A simple question to ponder: How can simple tools create profound changes in your kitchen’s organization? By gathering these materials and tools, you’re well on your way to creating a drawer organizer that suits your needs without spending a fortune.
Credit: www.youtube.com
Planning Your Organizer
Creating a drawer organizer for the kitchen can be easy and affordable. Use cardboard or plastic containers to separate utensils. This helps keep everything tidy and within reach.
Planning Your Organizer Creating a kitchen drawer organizer doesn’t need to be expensive. With a little planning, you can transform your cluttered drawer into a neat space. Start by understanding your needs and the items you want to store. Consider the size and shape of your kitchen utensils. This will help you decide the layout and materials required. A well-thought-out plan saves money and time.Measuring Your Drawer
Accurate measurements are crucial for a perfect fit. Use a tape measure to get the width, depth, and height of your drawer. Note these dimensions carefully. Ensure you measure from the inside edges. This ensures the organizer fits snugly. Having exact measurements helps you avoid costly mistakes.Designing For Functionality
Think about how you use your kitchen items. Group similar items together. Forks with forks, spoons with spoons. Consider adding sections for specific items. This makes access easy and improves efficiency. Sketch out your design on paper. Visualize the placement of each section. A simple design often works best. Keep it practical and easy to maintain.Cutting And Preparing Materials
Select sturdy cardboard or plywood for the organizer. Measure drawer dimensions accurately. Cut pieces to fit snugly inside.
Cutting and preparing materials is a crucial step in making a kitchen drawer organizer. This process ensures the pieces fit perfectly and function effectively. With the right techniques, you can achieve professional results without spending much. Let’s explore how to cut and prepare your materials for the best outcome.Safe Cutting Techniques
Using safe cutting techniques is essential. First, measure your drawer dimensions accurately. Mark the measurements on your chosen material, like plywood or MDF. Use a pencil and a ruler for precision. A hand saw or a jigsaw works best for cutting. Ensure your workspace is stable and clear of clutter. Always wear safety goggles to protect your eyes from debris. Keep your fingers away from the blade’s path. Take slow, steady strokes to maintain control and accuracy. This reduces the risk of splintering and ensures clean edges.Sanding And Finishing
Sanding smooths the edges and surfaces of your cut pieces. Start with medium-grit sandpaper to remove any roughness. Move to fine-grit sandpaper for a smooth finish. Sand along the grain to avoid scratches. Dust off the surfaces with a dry cloth. For a polished look, consider applying a wood finish or sealant. This step enhances durability and adds a touch of elegance. Choose a finish that complements your kitchen’s style. Apply it evenly using a brush or cloth. Let it dry completely before assembling the organizer.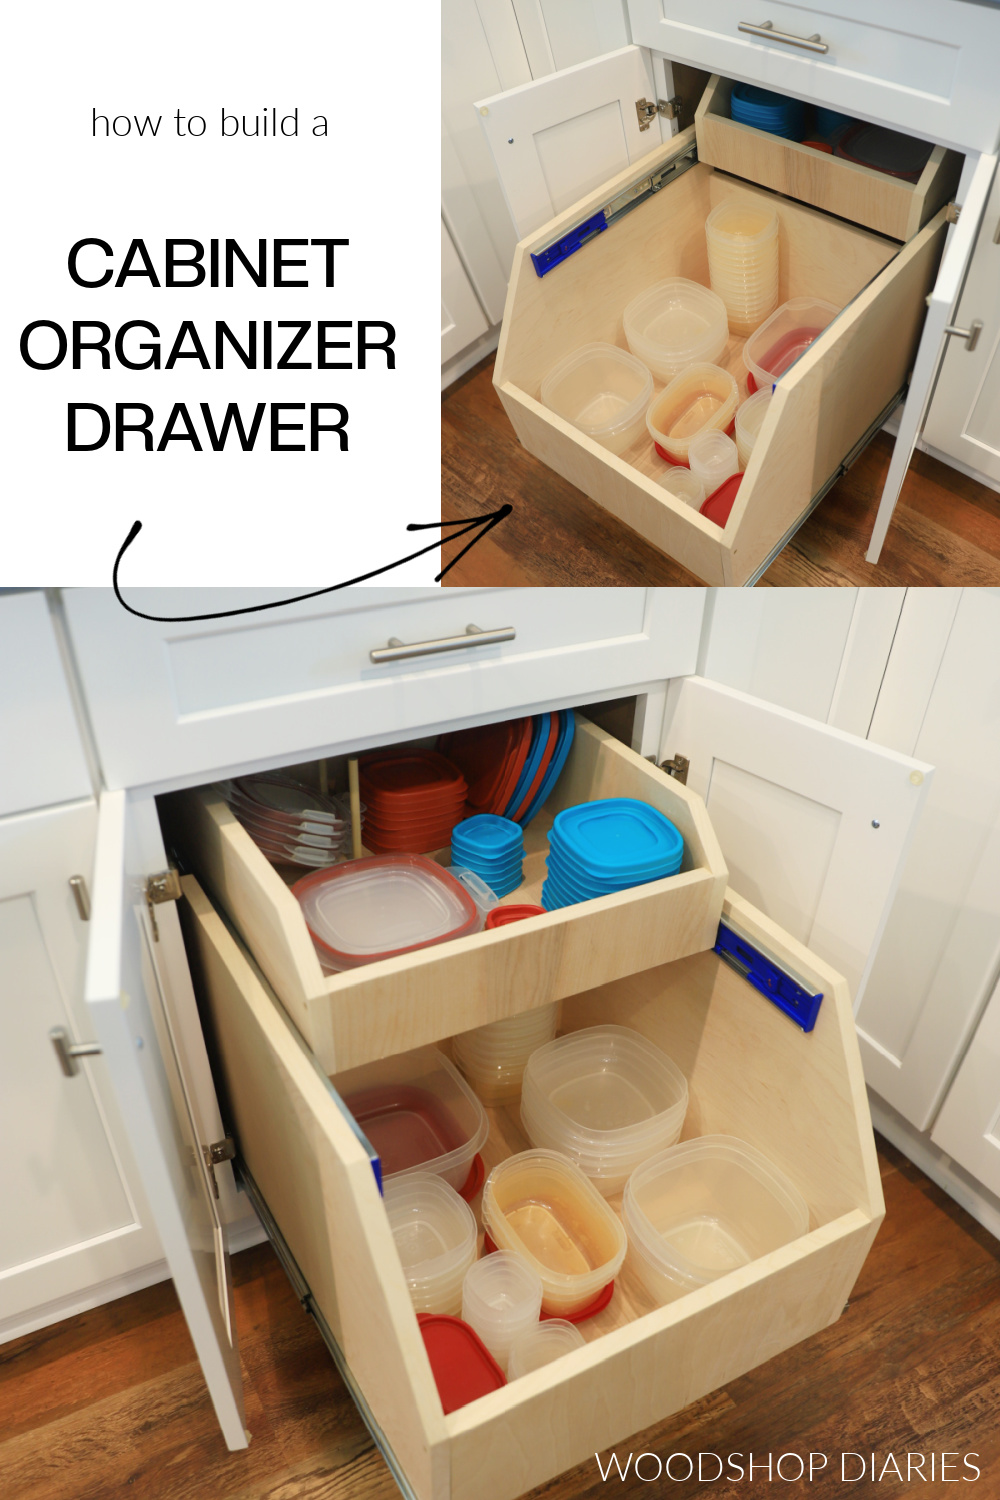
Credit: www.woodshopdiaries.com
Assembly Process
The assembly process for creating a kitchen drawer organizer is straightforward. You don’t need special skills or expensive tools. With some patience, you can transform cluttered drawers into neat spaces.
Building The Frame
Start by measuring the inside of your drawer. Cut the wooden pieces to fit these dimensions. Use plywood or any leftover wood pieces. Ensure they are smooth to prevent splinters.
Next, assemble the frame using nails or screws. Check the fit in the drawer before securing. This ensures the frame is snug and stable.
For added strength, apply wood glue at the joints. Let it dry completely before moving on.
Securing Dividers
Decide on the number and size of compartments. Cut dividers from the same wood as the frame. Sand the edges for safety.
Place the dividers inside the frame. Adjust their positions as needed. Secure them with nails or screws.
Ensure dividers are firmly attached. This prevents them from shifting with use.
For flexible layouts, consider using removable dividers. They allow customization as needs change.
Adding Personal Touches
Personalize your kitchen drawer organizer by using colorful paper or fabric. Customize sizes to fit utensils perfectly. Add labels for easy access and a touch of creativity.
Adding Personal Touches Making a drawer organizer is practical. Adding your personal style makes it unique. Transform a simple organizer into a kitchen masterpiece. Personal touches make it special and reflect your taste.Painting Or Staining
Choose colors that match your kitchen decor. Paint bright colors for a modern look. Opt for pastel shades for a calm vibe. Staining adds elegance to wooden organizers. Use dark stains for a classic feel. Apply light stains for a rustic charm. Ensure the finish is smooth and durable.Decorative Elements
Add decorative knobs for easy access. Choose designs that complement your kitchen theme. Use stencils to create patterns on surfaces. Stickers are a quick way to add flair. Consider decals for an artistic touch. Personalize with labels for easy organization. Embrace creativity and make it truly yours.Installation Tips
Creating a drawer organizer for your kitchen can be a cost-effective solution. It keeps your space tidy and accessible. Proper installation ensures the organizer functions well and lasts long. Here are some tips to help you install your kitchen drawer organizer effectively.
Fitting The Organizer
Begin by measuring your drawer’s interior dimensions. Ensure the organizer fits snugly. Cut any excess material for a perfect fit. A snug fit prevents shifting. Check the depth of the organizer. Make sure it doesn’t interfere with closing the drawer. Adjust the height if necessary. Use a ruler to verify alignment. Proper alignment ensures optimal usage of space.
Ensuring Stability
Use non-slip mats under the organizer. They keep it stable during use. Consider adhesive strips for extra security. Place them at the bottom of the organizer. Test the drawer’s movement. Ensure it opens and closes smoothly. Adjust the organizer if it obstructs movement. Regularly check for any signs of wear. Replace components as needed to maintain functionality.
Maintenance And Care
Crafting a drawer organizer for your kitchen can be budget-friendly and simple. Use cardboard or old boxes to create compartments. Personalize with wrapping paper or paint for a neat look.
Maintaining and caring for your homemade kitchen drawer organizer ensures it remains functional and looks great over time. Simple cleaning routines and occasional repairs can extend its life significantly. Plus, taking care of it yourself can save you money and add a personal touch to your kitchen.Cleaning Tips
Regular cleaning can prevent dirt build-up and keep your organizer looking fresh. Use a mild soap solution and a soft cloth to wipe down the surfaces. Avoid harsh chemicals as they might damage the material. If your organizer has dividers, take them out for a thorough clean. A small vacuum can help you reach those tricky corners where crumbs tend to gather. Consider adding a scented liner to keep things smelling fresh—it’s a small touch that makes a big difference.Repairing And Upgrading
Sometimes, small repairs can bring your organizer back to life. Tighten loose screws or replace worn-out liners for a quick fix. Think about upgrading your organizer with new features. Could a few hooks or additional dividers make it more efficient? Personalize it with a splash of paint or decorative stickers. Small changes can make your organizer feel brand new without costing a fortune. What creative upgrades could make your drawer organizer even more useful? Your kitchen, your rules—let your creativity shine!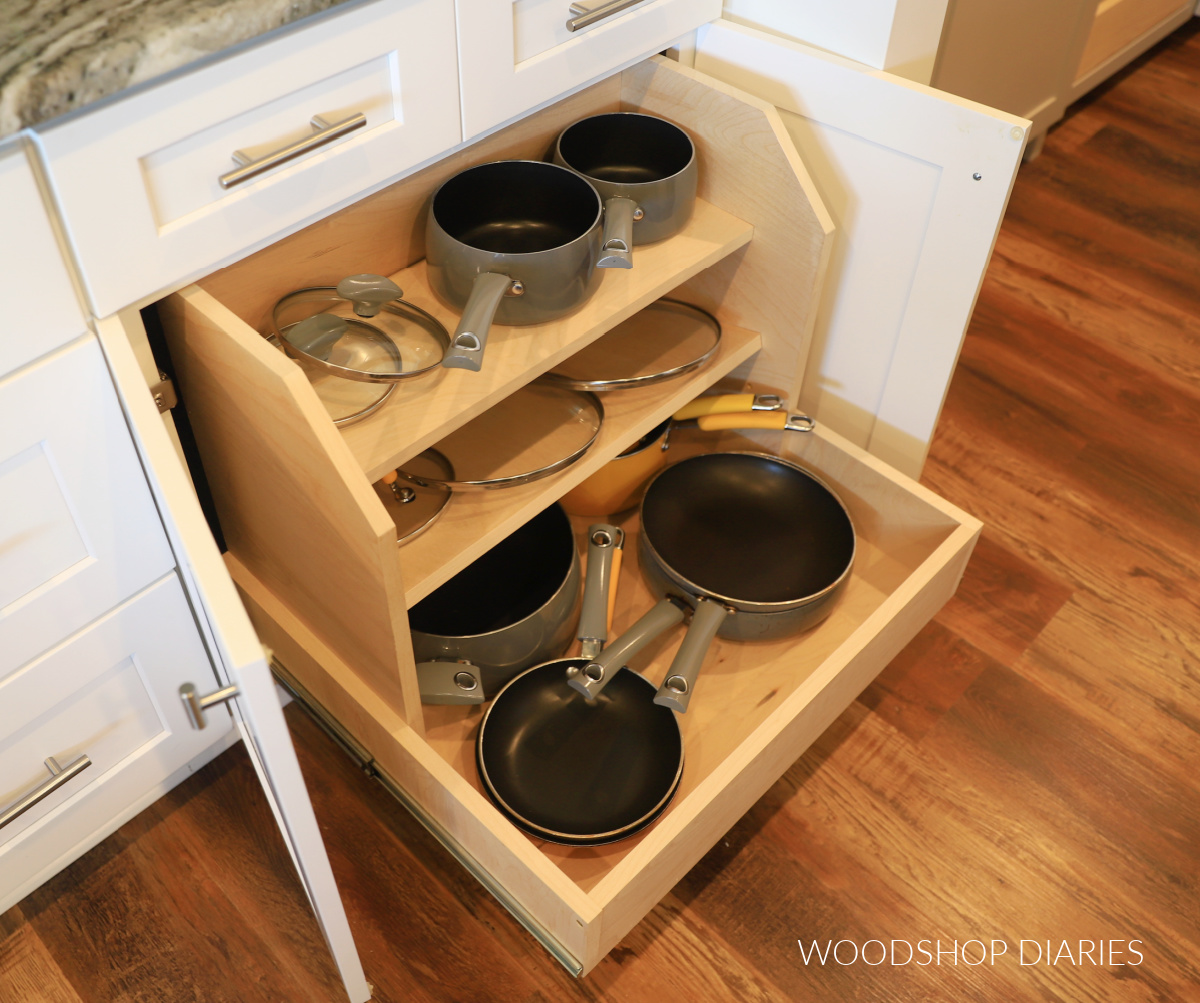
Credit: www.woodshopdiaries.com
Frequently Asked Questions
How Can I Make A Cheap Kitchen Drawer Organizer?
You can make a cheap kitchen drawer organizer using cardboard, foam board, or recycled materials. Cut and assemble dividers to fit your drawer dimensions. Arrange sections based on your kitchen tools to optimize space. Customize the organizer with fabric or paper for aesthetics.
This DIY project saves money and enhances kitchen organization.
What Materials Are Best For Diy Drawer Organizers?
Cardboard, foam board, or recycled plastic containers are ideal for DIY drawer organizers. These materials are affordable and easy to manipulate. They’re durable enough for daily kitchen use and allow for customization. Choose materials based on availability and your drawer’s needs to maximize functionality and cost-effectiveness.
Can I Customize My Drawer Organizer Design?
Yes, you can easily customize your drawer organizer design. Adjust the size and arrangement of compartments to suit your kitchen tools. Use decorative paper or fabric to enhance appearance. Personalize based on your preferences, ensuring optimal use of space and style.
This flexibility makes DIY organizers highly adaptable.
Are Diy Organizers Durable For Kitchen Use?
DIY organizers can be durable for kitchen use if made with sturdy materials. Choose cardboard or foam board for strength. Reinforce joints with glue or tape for added stability. Regularly check and maintain your organizer to ensure long-term usability. Proper construction ensures it withstands daily wear and tear.
Conclusion
Creating a drawer organizer for the kitchen can be fun and easy. You don’t need to spend much. Use simple materials like cardboard or plastic trays. Customize the sizes to fit your needs. Organizing kitchen tools becomes simple with these DIY organizers.
Keep your kitchen tidy and find things quickly. Try different layouts for your drawer. Enjoy the process and save money. Share your creations with friends or family. They might love your ideas too. A neat kitchen makes cooking more enjoyable.
Start organizing today and see the difference it makes.