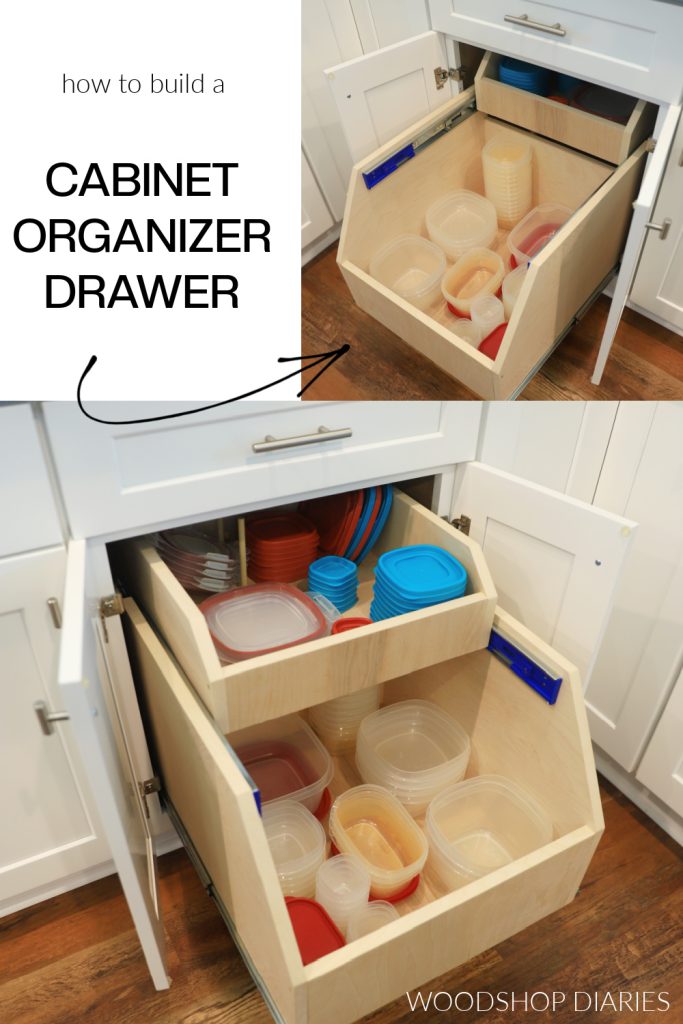
Imagine opening your kitchen drawer and finding it perfectly organized, with every utensil, tool, and gadget neatly in place. No more rummaging through a chaotic jumble of items just to find that one elusive spatula.
You can achieve this blissful state with a kitchen drawer organizer you build yourself. Why spend money on expensive store-bought solutions when you can create a custom organizer tailored to your needs? Not only will this project save you money, but it will also give you a sense of accomplishment every time you open your drawer.
Dive into this article, and discover the easy steps to transform your kitchen chaos into orderly bliss. Your kitchen deserves this upgrade, and so do you!
Materials Needed
Gather essential supplies like wood, screws, and a saw for your kitchen drawer organizer project. Include a measuring tape, sandpaper, and wood glue for smooth assembly. Consider a drill for precise screw placement.
To create a functional kitchen drawer organizer, gathering the right materials is crucial. Having the appropriate supplies ensures your organizer is both durable and effective. Here’s a detailed list of materials you’ll need to embark on this DIY project.Wooden Boards
Select quality wooden boards for a sturdy structure. Choose plywood or hardwood for durability. Thickness should be around 1/4 to 1/2 inch.Measuring Tape
Accurate measurements are essential. A measuring tape will help you cut precise board sizes.Saw
You’ll need a saw to cut the wooden boards. A hand saw or electric saw works well for straight cuts.Sandpaper
Smooth edges with sandpaper. It ensures no splinters and provides a clean finish.Wood Glue
Use wood glue to bond the pieces together. It provides a strong hold without nails.Nails And Hammer
For added stability, secure joints with nails. A hammer makes this task simple.Paint Or Stain
Finish your organizer with paint or stain. It protects the wood and matches your kitchen decor.Paintbrush
Apply paint or stain evenly using a paintbrush. Choose a brush that suits your finish type.Clamps
While the glue dries, use clamps to hold pieces in place. This ensures a tight bond and a neat assembly.Ruler
A ruler helps mark straight lines. It’s vital for accurate cuts and alignment.Pencil
Use a pencil to mark measurements. It’s easy to erase and adjust if needed. Ensure you have all these materials before starting your project. This will make the process smooth and efficient.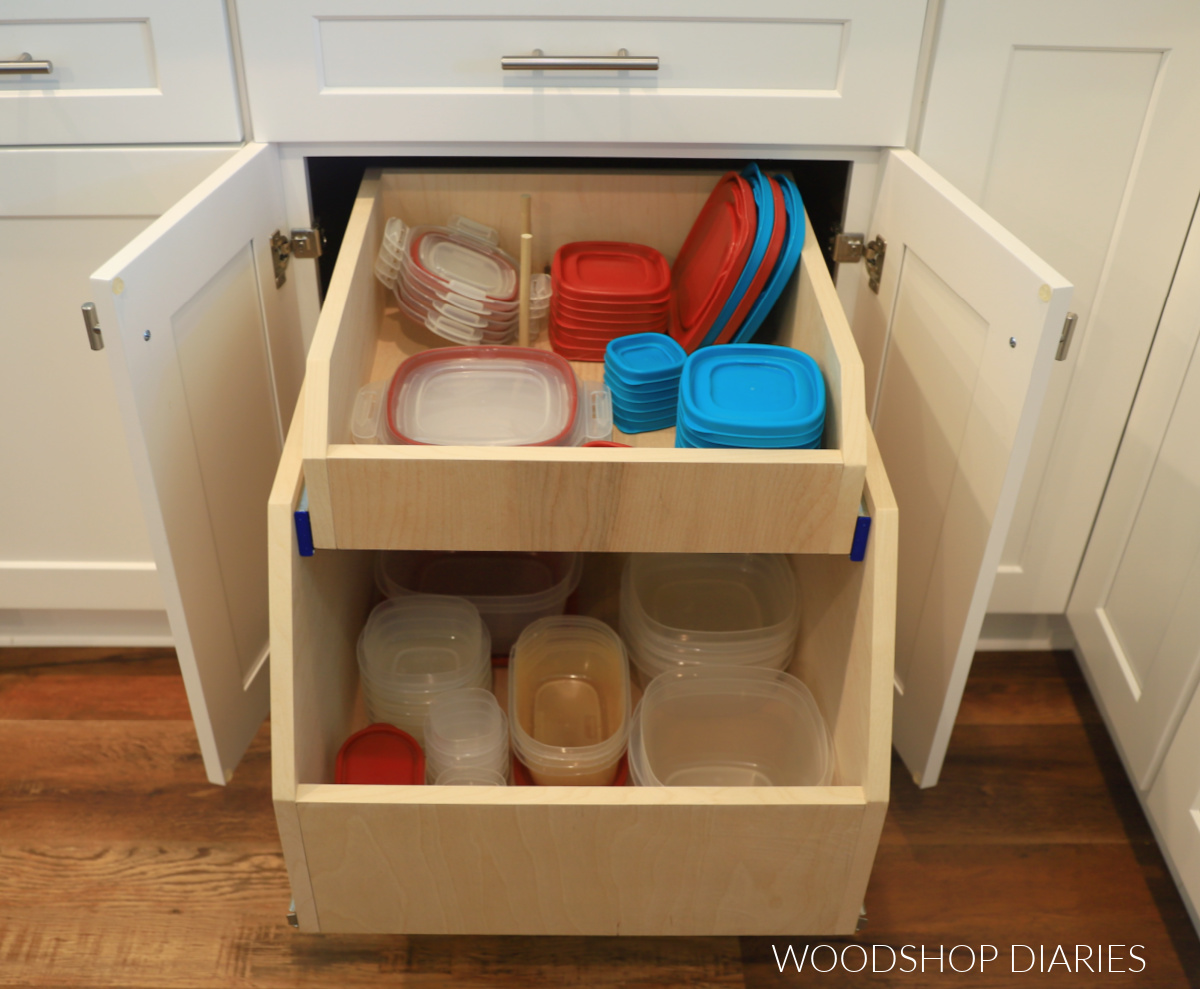
Credit: www.woodshopdiaries.com
Choosing The Right Design
Selecting the perfect design for a kitchen drawer organizer ensures efficient space use and easy access. Consider your kitchen layout and storage needs to create a functional and stylish solution.
Choosing the right design for your kitchen drawer organizer is crucial. It ensures functionality and enhances the aesthetic of your kitchen space. A well-thought-out design can make organization easy and efficient.Assessing Drawer Size
Start by measuring the drawer dimensions. This helps determine the available space for the organizer. Measure length, width, and height accurately. Larger drawers allow for more compartments. Smaller ones may need a compact design. Consider the drawer’s depth, too. It affects the number of tiers you can include.Considering Storage Needs
Think about what you need to store. Utensils, cutlery, or miscellaneous items? Each requires different compartments. Utensils need longer slots. Cutlery fits in smaller sections. Miscellaneous items might need adjustable spaces. List items to be organized. This helps in creating a functional design. Aim for easy access and visibility.Selecting Materials
Choose materials that suit your kitchen style. Wood offers a classic look. Plastic is durable and easy to clean. Metal provides a modern aesthetic. Ensure materials are easy to maintain. Consider water resistance for longevity. Sustainable materials are eco-friendly choices. Pick one that matches your kitchen decor.Measuring And Cutting
Transforming your kitchen drawers from chaotic messes into organized spaces can be both satisfying and practical. The secret lies in creating a custom drawer organizer, which starts with precise measuring and cutting. This process requires careful attention to detail, ensuring the components fit perfectly, maximizing storage efficiency and aesthetics. Let’s dive into the essentials of measuring and cutting for your kitchen drawer organizer.
Accurate Measurements
Begin by measuring the interior dimensions of your drawer. Use a tape measure to get the length, width, and depth. Jot down these measurements and double-check for accuracy. Remember, a slight error can lead to wasted material and time. Are you planning to store specific items? Measure them too, ensuring they fit comfortably within your design.
Consider how many compartments you need and their sizes. For instance, if you have a variety of utensils, plan different sections to accommodate each type. This might involve creating dividers of varying lengths, so a precise measurement is essential.
Cutting Techniques
With measurements in hand, it’s time to cut your materials. Choose your cutting tool wisely; a saw or a rotary cutter can provide clean, precise cuts. Mark your measurements on the material with a pencil before cutting. This ensures you follow the plan accurately.
For straight lines, a ruler or square can help guide your cuts. Pay attention to the material’s thickness; cutting too fast can result in splintering or uneven edges. Consider practicing on a scrap piece first to refine your technique.
Safety Precautions
Safety is paramount when handling cutting tools. Always wear protective gear like goggles and gloves. Ensure your workspace is clean and well-lit to avoid accidents. Secure your material firmly before cutting to prevent slipping.
Be mindful of your posture and hand placement. Keeping a safe distance from the blade and maintaining a stable stance can prevent mishaps. Ask yourself, is your workspace safe and conducive to a focused cutting session?
By mastering accurate measurements, perfecting cutting techniques, and prioritizing safety, you’re well on your way to creating a kitchen drawer organizer that meets your needs and enhances your culinary space.
Assembling The Organizer
Building a kitchen drawer organizer starts with measuring the drawer for a perfect fit. Gather materials like wood, screws, and glue. Assemble the pieces to create compartments for utensils and tools, ensuring everything stays organized.
Building your own kitchen drawer organizer can be a rewarding project that transforms clutter into order. Assembling the organizer is where the magic happens, turning your vision into a functional masterpiece. With a few simple steps, you can create an organizer that suits your specific needs and preferences.Arranging Compartments
Begin by laying out all the components of your organizer. Consider how you use your kitchen utensils and gadgets. Do you often reach for the spatula or the ladle? Arrange the compartments to ensure easy access to your most-used items. Play around with different configurations, adjusting the layout until it feels just right. Don’t be afraid to get creative; sometimes the most unexpected arrangement works best.Joining Pieces Together
Once you’re satisfied with the layout, it’s time to join the pieces. Use wood glue or screws, depending on the material and thickness of your organizer. Ensure the edges align perfectly, maintaining a clean and professional look. Take your time with this step; precision here will pay off in a sturdy, long-lasting organizer.Ensuring Stability
Stability is crucial for a functional drawer organizer. Test the assembled structure by gently pressing on various sections to check for wobbles or weak spots. If needed, reinforce the joints with additional glue or small brackets. Ask yourself, would this setup withstand daily use in a bustling kitchen? Adjust as necessary to ensure each compartment holds firm, ready to tackle any culinary challenge you throw its way. Remember, a well-assembled organizer not only brings order but also adds a personal touch to your kitchen space.Finishing Touches
Adding finishing touches enhances your kitchen drawer organizer’s functionality and style. Consider soft-close mechanisms for a quieter experience. Use custom inserts to match your utensil sizes and needs.
Finishing touches make your kitchen drawer organizer shine. They add beauty and durability. These steps ensure your project looks polished and professional.Sanding And Smoothing
Begin by sanding all surfaces. Use fine-grit sandpaper for best results. This removes rough edges and splinters. Keep sanding until the wood feels smooth. Check corners and edges carefully. Smooth surfaces allow finishes to adhere well.Applying Finishes
Choose a finish that suits your style. Paint adds color and vibrancy. Stain enhances natural wood patterns. Apply with a brush or cloth. Ensure even coverage for a uniform look. Let each coat dry completely. Consider adding a protective sealant. It guards against moisture and wear.Adding Decorative Elements
Personalize your organizer with unique touches. Consider decorative knobs or handles. Use stencils to add patterns or designs. Adhesive paper adds color and texture. Choose elements that reflect your kitchen’s theme. These details add charm and character.Installation Tips
Measure your drawer for the perfect fit. Use plywood or hardwood for durability. Assemble pieces with wood glue and nails for a sturdy structure.
Installing a kitchen drawer organizer can transform cluttered chaos into a harmonious and functional space. With the right installation tips, you can ensure your organizer fits seamlessly and stays securely in place. The process is straightforward, and with a bit of patience, you’ll have an organized kitchen in no time. Let’s dive into some practical tips to make the installation process smooth and hassle-free.Fitting Into The Drawer
Before you start, measure the inside of your drawer carefully. This is crucial to avoid any surprises later on. Use these measurements to choose an organizer that fits snugly. If you have an adjustable organizer, set it to match your drawer’s dimensions. A well-fitted organizer prevents items from shifting around. Consider the height of the organizer as well. Ensure it doesn’t interfere with the drawer’s closing mechanism.Securing The Organizer
Once you’ve placed the organizer in the drawer, you want it to stay put. Use non-slip pads or adhesive strips to keep it from moving when you open and close the drawer. In some cases, you might find pre-drilled holes in your organizer. These can be used to screw the organizer into the drawer for extra stability. Check if your organizer has expandable sides; if so, extend them to press against the drawer walls. This can offer additional hold without permanent fixtures.Adjustments And Tweaks
After securing, test the drawer by opening and closing it a few times. If the organizer shifts, adjust the non-slip pads or screws as needed. Make sure all compartments are easily accessible and that nothing obstructs the drawer’s movement. Think about future needs. If you anticipate changes, opt for flexible designs that allow easy reconfiguration. By following these tips, your kitchen drawer organizer will not only stay in place but also serve your storage needs efficiently. What challenges have you faced when organizing your kitchen drawers? Share your experiences and insights in the comments below!Maintenance And Care
Proper maintenance ensures your kitchen drawer organizer lasts longer. Regular cleaning prevents dust buildup and keeps items accessible. Check for loose screws and adjust as needed for smooth operation.
Maintaining and caring for your kitchen drawer organizer ensures its longevity. Regular upkeep keeps it looking fresh and functioning well. Here are some essential tips to keep your organizer in top shape.Cleaning Tips
Regular cleaning is vital for a tidy kitchen drawer. Use a damp cloth to wipe surfaces gently. Avoid harsh chemicals that might damage the material. For stubborn stains, a mix of mild soap and water works best. Dry thoroughly to prevent moisture build-up. This simple routine keeps your organizer clean and hygienic.Handling Wear And Tear
Drawers face daily wear and tear. Inspect your organizer regularly for any damage. Tighten loose screws to keep it stable. If a section breaks, consider using wood glue for repairs. For plastic organizers, ensure there are no cracks. Addressing minor issues early prevents bigger problems later.Longevity Practices
Proper care extends the life of your organizer. Avoid overloading drawers to prevent stress on joints. Use liners to reduce scratches and stains. Keep items organized to prevent unnecessary pressure on dividers. With these practices, your drawer organizer will serve you well for years.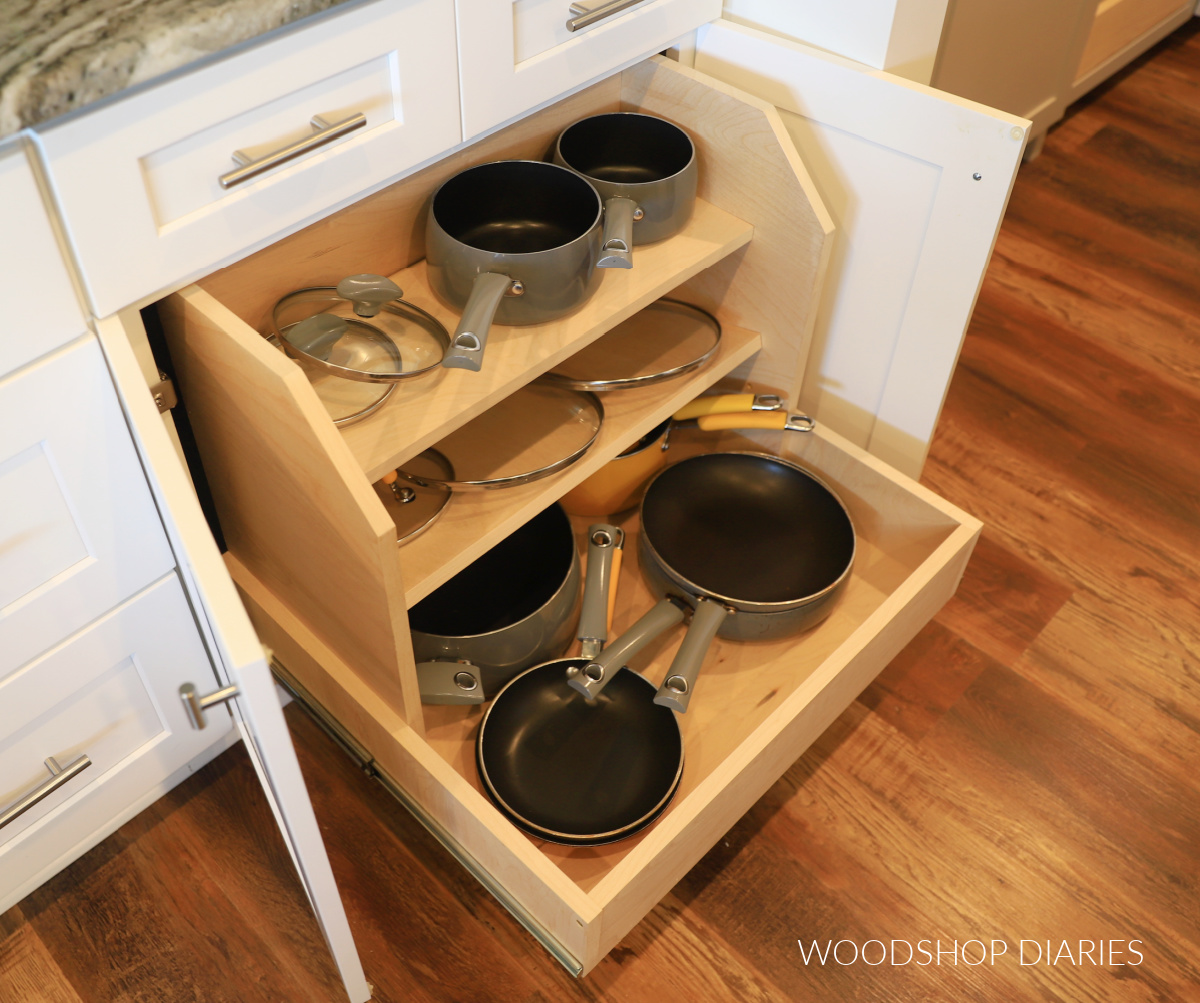
Credit: www.woodshopdiaries.com
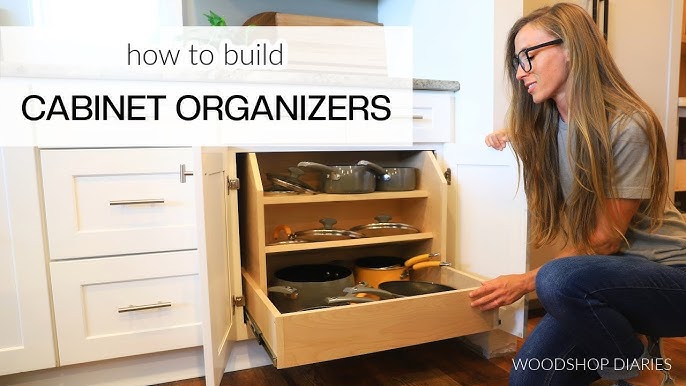
Credit: www.youtube.com
Frequently Asked Questions
What Materials Do I Need For A Drawer Organizer?
To build a kitchen drawer organizer, you’ll need plywood, a saw, sandpaper, wood glue, and a measuring tape. These materials are essential for cutting and assembling the organizer. Additionally, you might need a drill and screws for added stability. Choose materials that are durable and suitable for kitchen environments.
How Do I Measure My Kitchen Drawers?
To measure your kitchen drawers, use a measuring tape to determine the length, width, and depth. Ensure you measure the internal dimensions to get accurate results. This helps in creating a custom-fit organizer. Consider any obstacles like drawer slides that might affect the fit.
Can I Customize The Organizer Layout?
Yes, you can customize the organizer layout to fit your needs. Design compartments based on the kitchen tools you use most. Use adjustable dividers for flexibility. This ensures the organizer is practical and maximizes drawer space, enhancing kitchen efficiency.
What Tools Are Needed For Assembly?
For assembly, basic tools like a saw, drill, and screwdriver are essential. A saw is needed for cutting wood to size. A drill and screwdriver help in securing the pieces together. Sandpaper smooths rough edges, ensuring a polished finish.
Conclusion
Crafting a kitchen drawer organizer is simple and rewarding. It helps keep your space tidy. With basic tools and materials, you can start today. Measure your drawers carefully. Select materials that suit your style and budget. Cut and assemble pieces with precision.
Ensure everything fits snugly. Customize compartments based on your needs. Consider adding dividers for utensils and gadgets. Enjoy the satisfaction of a clutter-free kitchen. You’ll save time and reduce stress. Your organized drawers will make daily tasks easier. Embrace the joy of a neat kitchen.
Happy organizing!