
Imagine stepping into your kitchen, ready to bake your favorite bread or cookies. You reach for the flour, but it’s clumped together or worse, it’s gone stale.
We’ve all been there, right? Proper storage can make all the difference in maintaining the quality and freshness of your flour. But with so many options available, how do you know which storage solutions are best for your kitchen? This article will guide you through the essentials of storing flour, ensuring that your baking adventures are always a success.
Whether you’re a seasoned baker or a kitchen novice, understanding the right way to store your flour can transform your cooking experience. Ready to discover the secrets to keeping your flour fresh? Let’s dive in!

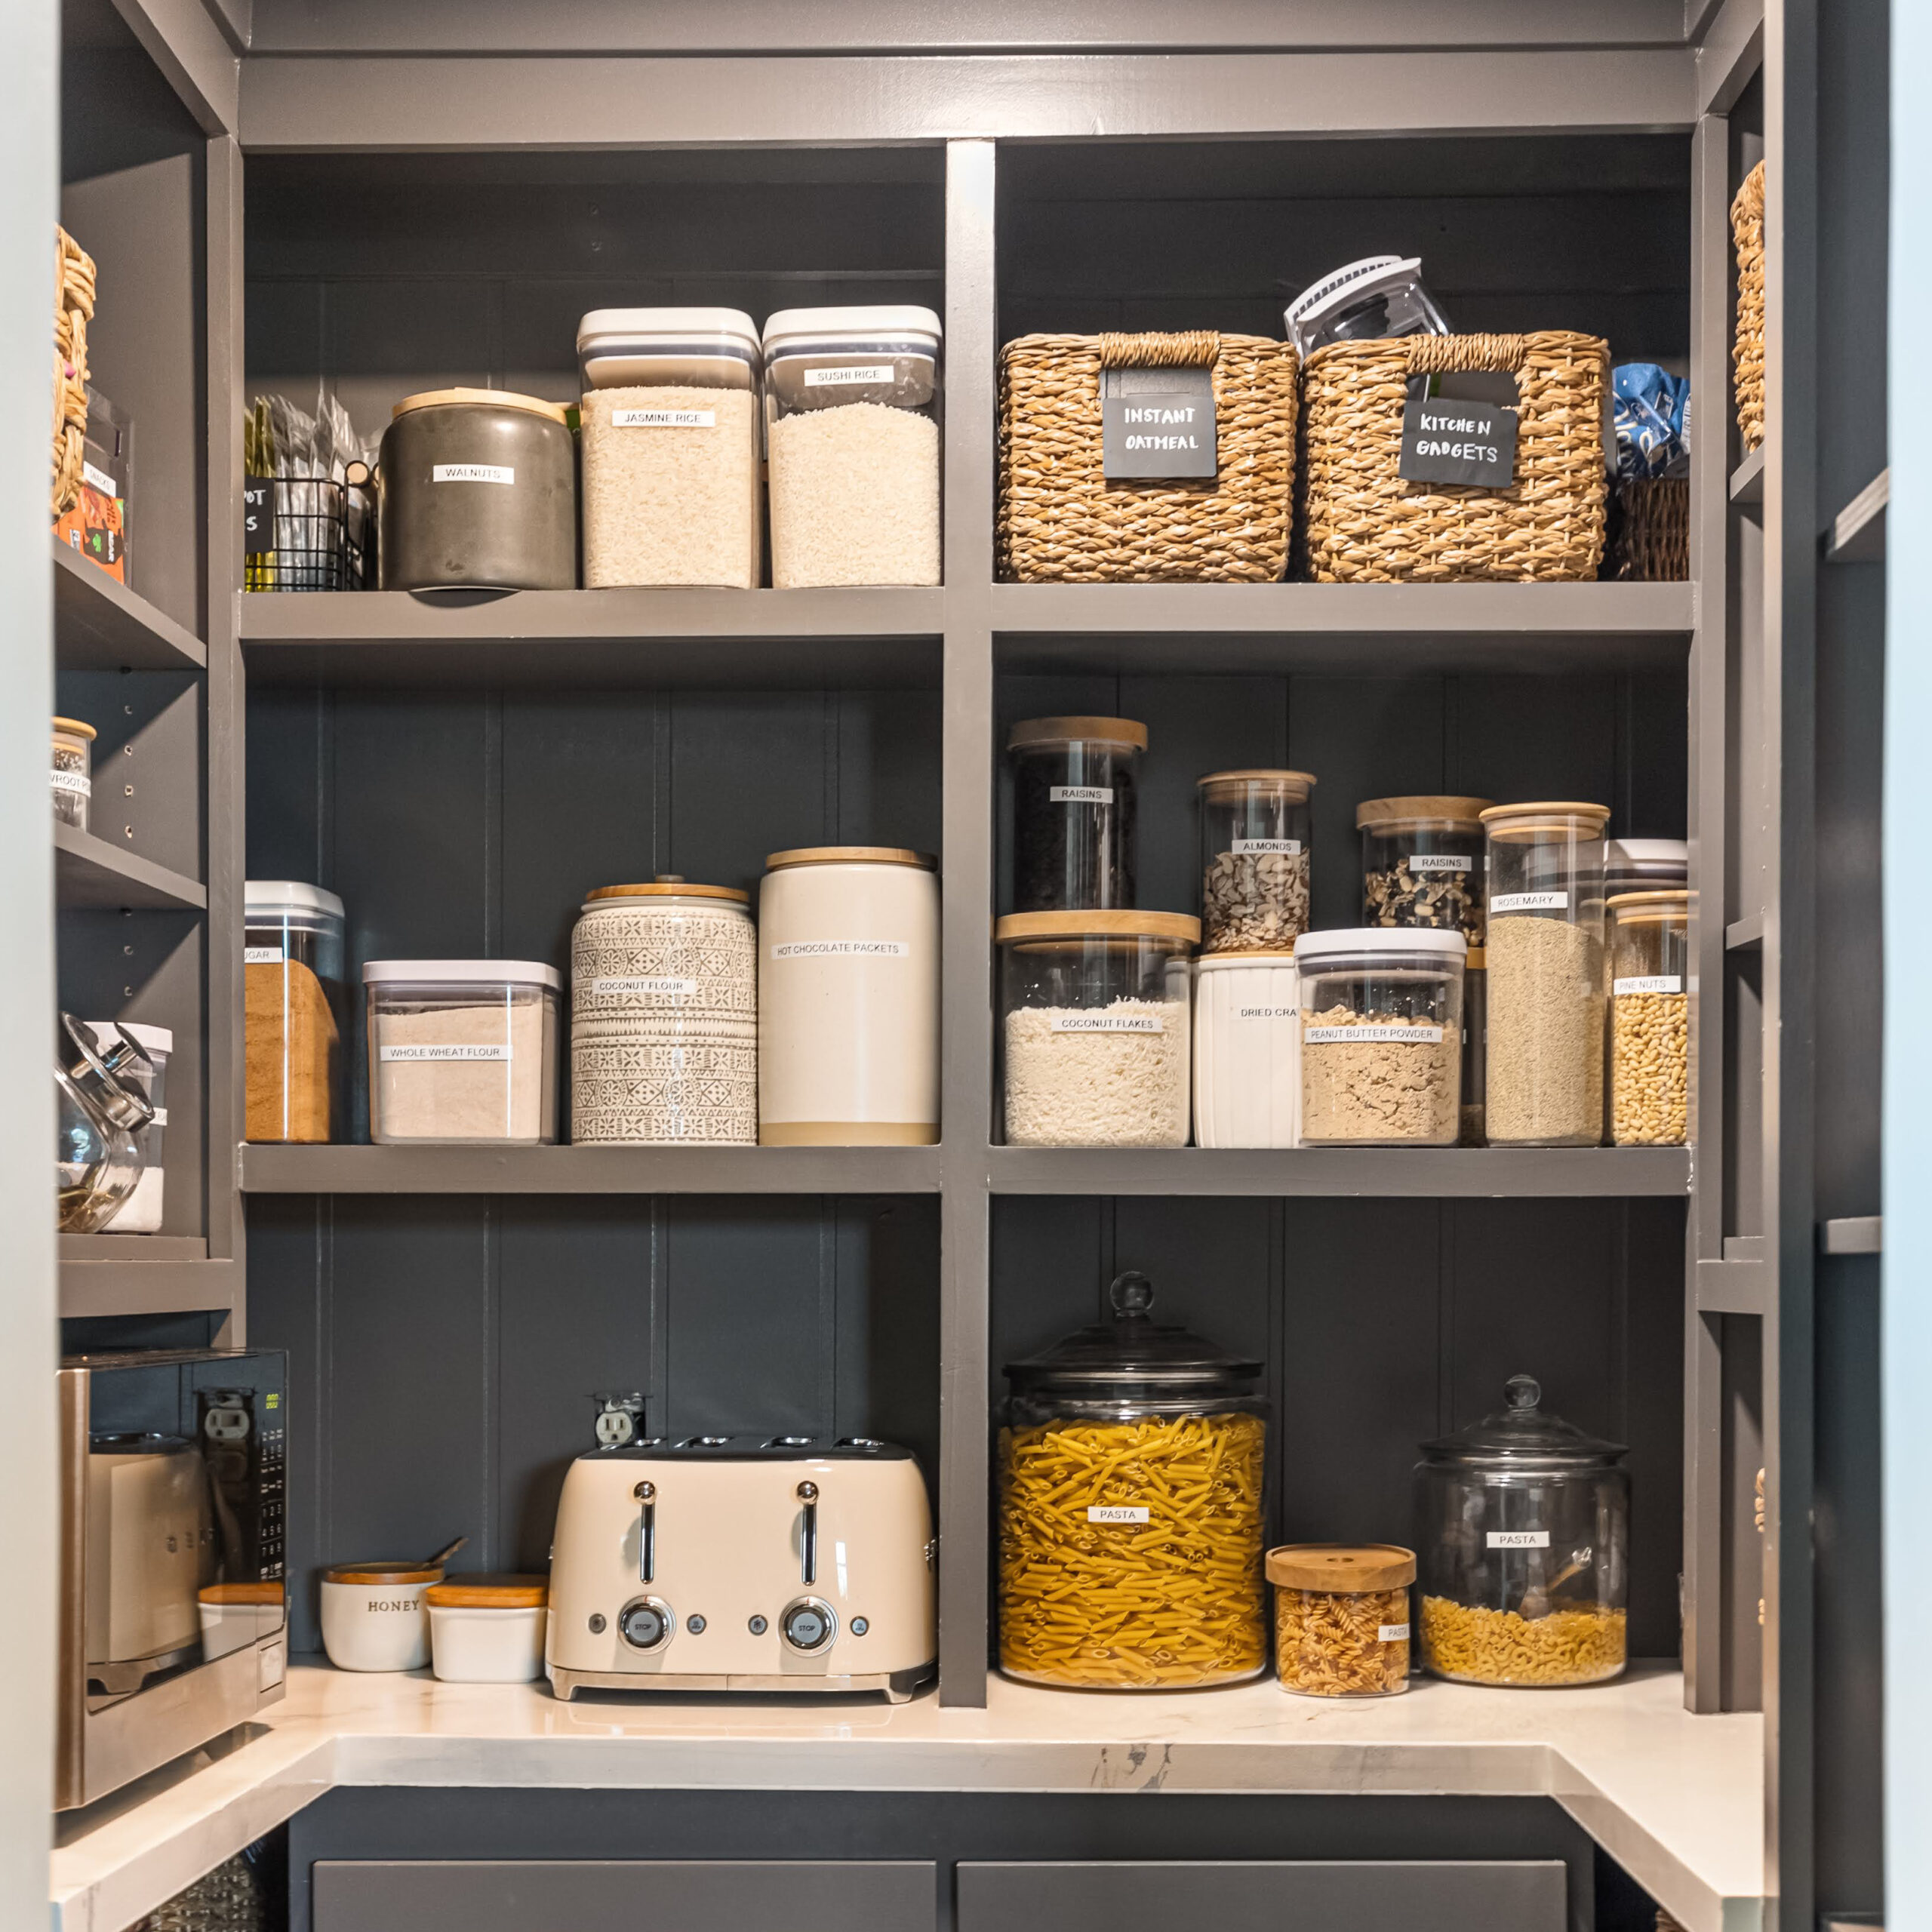
Credit: food52.com
Types Of Flour Storage Containers
Flour storage containers come in various types, ensuring freshness and longevity. Airtight plastic containers, glass jars, and stainless steel canisters are popular choices. Each option provides a different style and storage capacity, making it easy to find one that suits your kitchen needs.
Storing flour in your kitchen can be a surprisingly complex task. The right container ensures freshness, keeps pests away, and fits your kitchen aesthetic. Whether you’re an avid baker or just like to keep essentials on hand, choosing the right storage solution is crucial. But with so many options available, how do you decide which type of container suits your needs best?Plastic Containers
Plastic containers are popular for their lightweight design and affordability. They’re often airtight, which is crucial for keeping moisture at bay. Many plastic containers come with clear sides, allowing you to easily see the flour levels without opening them. A practical choice might be those with a snap-lock lid, ensuring a tight seal. However, it’s important to consider the material quality. Opt for BPA-free plastics to ensure your flour remains uncontaminated.Glass Jars
Glass jars bring a touch of elegance to your kitchen. They’re perfect for showcasing those beautiful, fluffy flour piles. The transparency of glass jars allows for easy monitoring of flour quantity and quality. Unlike plastic, glass doesn’t absorb odors or colors, keeping your flour fresh. Plus, they’re easy to clean and can withstand temperature changes. Just be careful with handling them, as they can break or chip.Metal Canisters
Metal canisters offer durability and a sleek, modern look. They tend to be more robust compared to glass or plastic options. Many come with decorative designs, adding a stylish touch to your kitchen shelves. While they excel in durability, checking the seal is essential. Some metal canisters might not provide the airtight protection needed for long-term storage. If you’re looking for a vintage vibe, these canisters might just be the perfect fit for your kitchen setup. Which type of container aligns with your storage needs and kitchen style?Benefits Of Proper Flour Storage
Proper flour storage in a kitchen keeps it fresh and safe from pests. Use airtight containers and cool, dry places to prevent spoilage and maintain quality.
Flour is a kitchen staple, essential for baking and cooking. Proper storage ensures it stays fresh, safe, and high-quality. Understanding the benefits of storing flour correctly can enhance your culinary experiences. Let’s explore these advantages.Preserving Freshness
Proper storage keeps flour fresh for longer. Airtight containers shield it from moisture and air. This prevents spoilage and maintains its original taste. Fresh flour contributes to better baking results.Preventing Contamination
Flour can attract pests and bacteria. Secure containers act as barriers. They prevent unwanted contaminants from entering. This ensures your flour is safe to use in any recipe.Maintaining Quality
High-quality flour makes a difference in cooking. Proper storage helps retain its texture and nutrient content. It keeps the flour ready for any dish, maintaining consistent results. Quality flour is essential for delicious creations.Choosing The Right Container Size
Choosing the right container size for storing flour in your kitchen is crucial for maintaining freshness and organization. Flour can quickly lose its quality if exposed to air and moisture, so selecting a container that fits your needs is essential. Whether you buy flour in bulk or prefer smaller batches, finding the right balance between space and accessibility can make a huge difference in your kitchen efficiency.
Bulk Storage Options
If you often buy flour in large quantities, bulk storage is your best friend. Consider using large, airtight containers that can hold several pounds of flour. These containers not only keep the flour fresh but also reduce the hassle of frequent refilling. Imagine the ease of having your baking supplies readily available without constant trips to the store. Look for containers made of durable materials like glass or BPA-free plastic. They should be easy to clean and have a sturdy seal.
Small Batch Containers
For those who prefer buying flour in smaller amounts or experimenting with different types, smaller containers work wonders. Opt for containers that can hold around two to five pounds of flour. These are perfect for keeping specialty flours, like almond or coconut, fresh and easily accessible. Smaller containers allow you to rotate your stock efficiently, ensuring nothing goes to waste. Plus, they fit neatly into most kitchen cabinets, giving you more flexibility in organizing your space.
Space-saving Solutions
Not every kitchen boasts ample storage space, so finding clever ways to store flour can be a game-changer. Stackable containers are a fantastic space-saving solution. They maximize vertical space, allowing you to store more flour without cluttering your counters. Look for containers with a slim design that can slide into narrow cabinet spaces. Another innovative option is collapsible containers, which can be adjusted based on the amount of flour you have, saving both space and money. Have you ever thought about using drawer bins for flour storage? It’s an unexpected yet effective way to keep your kitchen tidy and efficient.
Credit: crystelmontenegrohome.com
Features To Look For In Containers
Choosing the right container for storing flour in your kitchen is crucial to maintain freshness and keep pests at bay. With so many options available, it’s easy to get overwhelmed. However, focusing on key features can simplify your decision-making process and ensure your flour stays in perfect condition.
Airtight Seals
Airtight seals are non-negotiable when it comes to storing flour. They prevent moisture and air from getting in, which can cause flour to spoil or become clumpy. Imagine opening your container and being greeted with fresh, dry flour every time—an airtight seal makes this possible.
Look for containers with silicone gaskets or rubber seals. These materials ensure a tight closure. Some containers even come with snap-lock lids that provide an extra layer of protection.
Durability
The durability of your container is another key aspect. A strong, long-lasting container can withstand regular use and frequent handling. Consider materials like BPA-free plastic, stainless steel, or glass.
Glass containers, for instance, offer a sturdy option that won’t absorb odors. They are also dishwasher-safe, making cleaning a breeze. Durable containers can save you money in the long run by reducing the need for replacements.
Transparency
Transparency in a flour container is more than just a visual perk. It allows you to quickly check your flour levels without opening the lid. This can save you time during meal prep and help you keep track of your pantry supplies.
Clear containers also contribute to an organized kitchen, making it easier to spot what you need. Consider a container with a clear body or a window on the side for the best of both functionality and style.
By focusing on these features, you can ensure your flour stays fresh, accessible, and ready for your culinary adventures. What other features do you find essential in kitchen storage? Share your thoughts below!
Organizing Flour In Your Kitchen
Glass jars and plastic containers are ideal for storing flour. Keep them airtight to prevent moisture and pests. Use stackable options to save space and maintain an organized kitchen.
Organizing flour in your kitchen can save time and reduce mess. Proper storage ensures flour stays fresh and ready to use. A well-organized kitchen boosts efficiency and enhances cooking experiences. Let’s explore how to organize flour effectively.Labeling Techniques
Labeling containers is essential for easy identification. Use clear labels with large fonts. Consider color-coded labels for different types of flour. This helps quickly find the right flour when needed. Waterproof labels prevent smudging and ensure long-lasting clarity.Shelf Arrangement
Place frequently used flour within easy reach on shelves. Store less used types on higher or lower shelves. Group similar flours together for better organization. Use airtight containers to prevent moisture and pests. Transparent containers allow quick visual checks on flour levels.Accessibility Tips
Keep containers at eye level for quick access. Use pull-out drawers or lazy susans for deeper cabinets. Ensure containers fit comfortably in their designated spaces. Avoid stacking too many containers to prevent tipping. Regularly check and refill containers to maintain easy access.Maintenance And Cleaning
Airtight containers are ideal for storing flour, preventing moisture and pests. Glass jars add a decorative touch while ensuring freshness. Use stackable bins to maximize cabinet space and keep your kitchen organized.
Maintaining and cleaning your kitchen storage for flour is crucial to ensure the quality of your baking ingredients. Flour, like many kitchen staples, is sensitive to moisture and pests, making its storage a priority. Proper maintenance not only keeps your ingredients fresh but also extends the life of your containers. Let’s dive into some practical tips to keep your kitchen in tip-top shape.Regular Cleaning Routine
Establish a regular cleaning routine to keep your flour storage clean and hygienic. Start by emptying your containers and washing them thoroughly with warm, soapy water. Dry them completely before refilling to prevent moisture buildup. Consider setting a monthly reminder to clean your kitchen storage, ensuring a fresh start for your ingredients.Checking For Damage
Regularly inspect your containers for any signs of damage. Look for cracks, dents, or loose lids that could compromise the freshness of your flour. A damaged container can invite moisture or pests, ruining your baking supplies. If you notice any issues, address them immediately to maintain the integrity of your storage system.Replacing Old Containers
Are your containers showing signs of wear and tear? It might be time to replace them. Investing in new, airtight containers can make a significant difference in preserving the quality of your flour. Consider glass or high-quality plastic options that provide a tight seal. By upgrading your storage, you ensure your flour stays fresh and ready for your next baking adventure.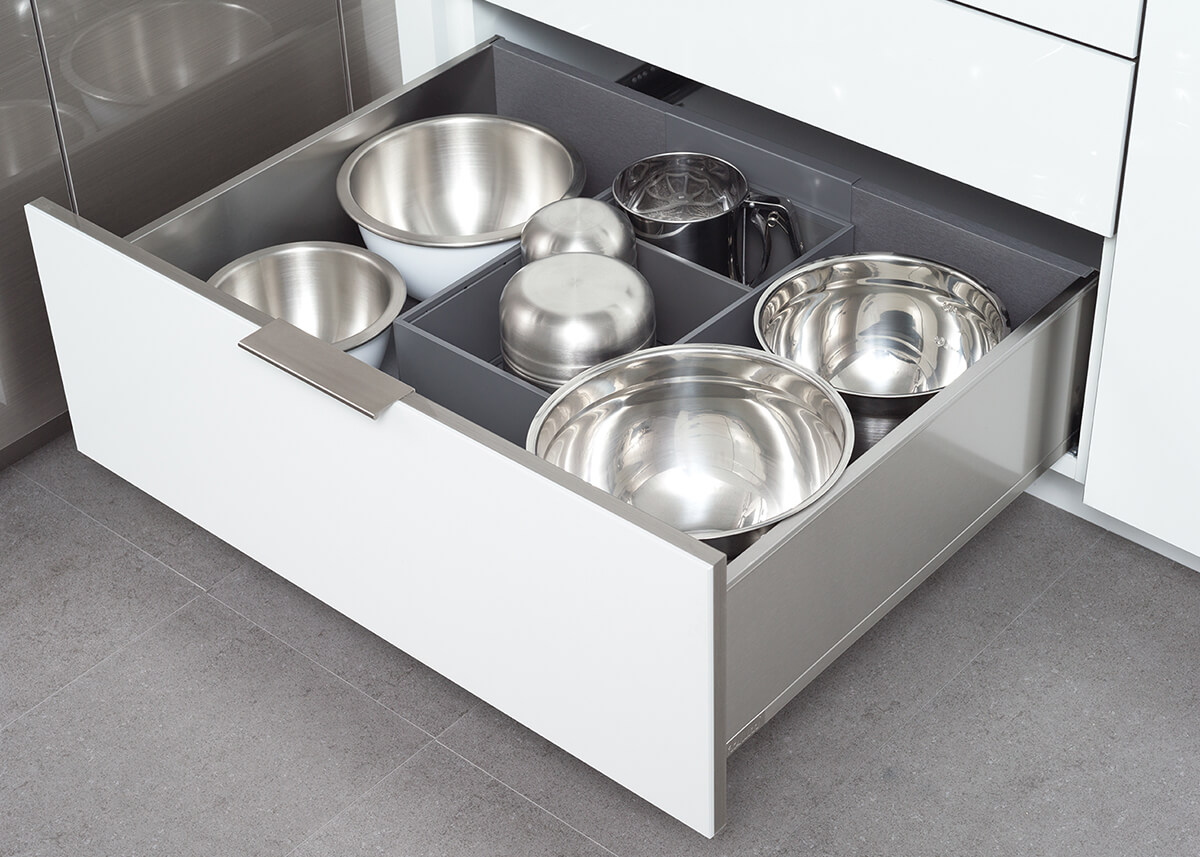
Credit: www.durasupreme.com
Frequently Asked Questions
How To Store Flour In The Kitchen?
Store flour in airtight containers to keep it fresh. Use glass or plastic containers with secure lids. This prevents moisture and pests from contaminating the flour. Label containers with purchase dates to monitor freshness. Place them in a cool, dark pantry for best results.
Can Flour Be Stored In The Fridge?
Yes, storing flour in the fridge can extend its shelf life. Refrigeration helps prevent pests and slows spoilage. Use airtight containers to avoid moisture absorption. Ensure the fridge temperature is consistent. This method is ideal for whole grain and specialty flours.
What Type Of Containers Are Best For Flour?
Airtight containers like glass or BPA-free plastic are best for flour. They keep moisture and pests out. Ensure the lid seals tightly. Transparent containers help easily check flour levels. Choose containers that fit easily in pantry spaces for convenience.
How Long Can Flour Be Stored?
Flour typically lasts 6-8 months in the pantry. For longer storage, refrigeration extends its life to 1 year. Whole grain flours have shorter shelf lives due to higher oil content. Proper storage in airtight containers helps maintain freshness and quality.
Conclusion
Storing flour properly keeps it fresh and safe. Use airtight containers. They protect flour from moisture and pests. Glass jars or plastic bins work well. Choose a cool, dark spot in the kitchen. Label each container with the date. This helps track freshness.
Organize by size and type for easy access. Clear containers let you see the contents. Avoid storing flour near heat sources. Proper storage extends shelf life and maintains quality. Keep your kitchen tidy and your baking hassle-free. With these tips, flour storage becomes simple and effective.
Enjoy fresh, delicious bakes every time!